
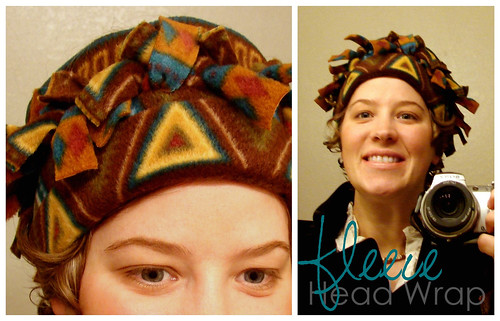
The other day while at work a woman came in who was wearing a fun fleece head wrap that covered her ears and I asked her where she got it because it was so fun looking and looked warm to boot. She said that she had picked it up at a craft fair about a year ago and she then proceeded to take it off and she let me look at it and we tried to figure out how it exactly was made. One of my Christmas gifts this year from my mom was a big stack of different patterned fleece so I was intrigued to say the least! Tonight I cut up some of my fleece and this is what I (happily!) ended up with so I thought I'd share!
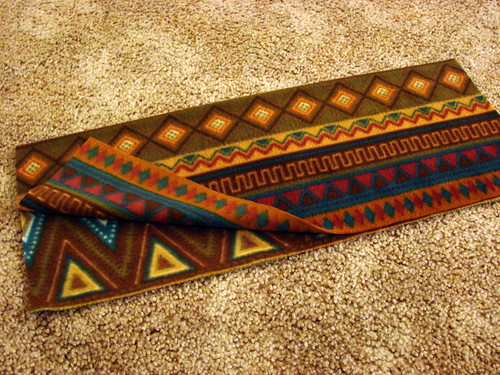
1. Start off by measuring the circumference of the head of whomever will be wearing the head wrap and allow at least an additional inch of length for when you stitch the wrap closed (this measurement for me was approximately 22 inches). Cut your width of fleece and then determine how long you want your fringe and if you want to fold over a bit of the finished wrap when wearing it (I opted to fold the brim of mine up when wearing it so cut my fleece longer height-wise). I cut my piece of fleece approximately 22 x 16 inches. Lay your piece of fleece on your workspace and fold from top to bottom taking care to stay even.

2. Upon determining what you would like your length of your fringe to be on your wrap (my next wrap will have longer fringe!) cut even strips through both ends of your piece of fleece about an inch wide.
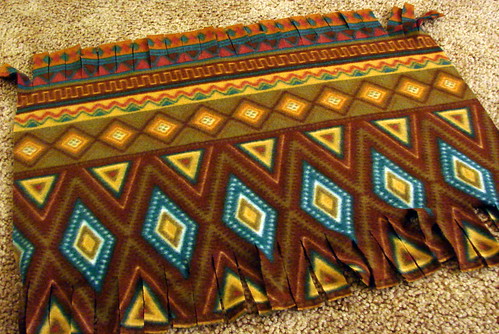
3. Open up your piece of fleece.

4. Fold up the fringe from the bottom of your fleece about 5 1/2 inches or so (this is including the length of your fringe).
5. Meet the top fringe to the bottom fringe by folding down. Try to make your fold even so that the fringe meets at the same point along the entire length of your fleece.
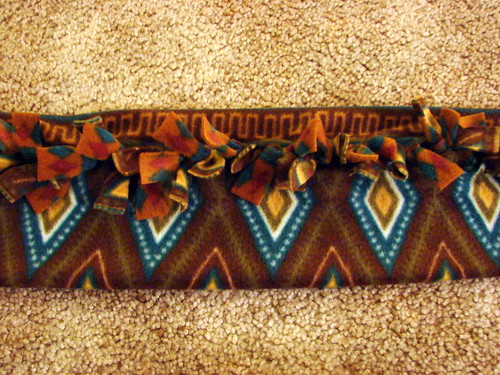
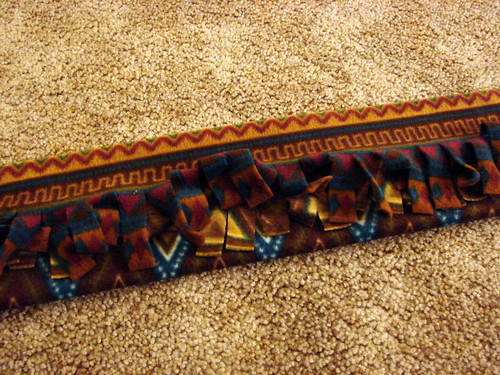
6. Starting on one end, tie the top and bottom piece of fringe that meet with double knots until all of your fringe is tied.
7. Fold over your tied wrap so that the outside edges will be facing one another as pictured above.

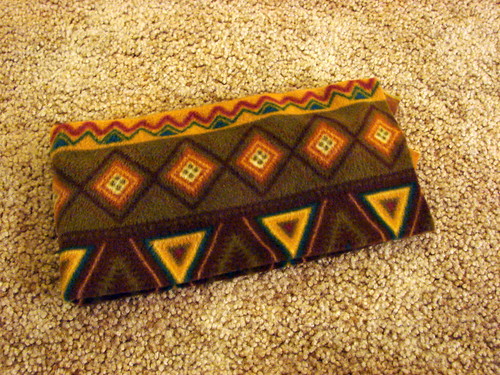
8. Now either machine stitch or hand stitch the two open ends together. I used a zig-zag stitch and reinforced it by stitching back and forth a couple of times. I am not a seasoned seamstress by any means so I am sure that this part of the project may be better implemented by one who is but it worked perfectly for my purposes!
Now fold your wrap outwards and fold up the bottom edge (if you cut your fleece longer to fold) and put on your new head wrap!
this is sooo cool and very cute! how smart of you to figure it out!
Oh this is so fun! I love it! :)
Super cute! Really pretty colors, too!
This is GREAT. I MUST do this. I make fleece blankets kind of the same way... awesome awesome. Thanks!
super cute...I have a s-i-l that will LOVE this project!
Wow, I love this! And I love your blog! That would be perfect for foggy mornings walking the dog. Thanks so much for adding this to the One Pretty Thing Flickr pool. I'll be linking in Sunday's Weekend Roundup. Happy Friday!
This is such a great hat! I blogged about your tutorial on Craft Gossip Sewing:
http://sewing.craftgossip.com/tutorial-easy-sew-fringed-fleece-head-wrap/2010/01/10/
--Anne
Is the length of your wrap cut on the "stretchy" part? Thanks.
Stunning wrap and wonderful tute.
Thanks for sharing.
Thank you soooooo much for sharing this pattern. I was looking for something fun and funky yet affordable to make for my daughter's whole group of friends that we are taking to the snow for her birthday. This is PERFECT. I had a scrap of fleece that I pulled out to try it out as soon as I got done reading your tutorial. I was completely done 20 mins later and am wearing my creation as I type. so cool. Thank you Thank you.
Thank you soooooo much for sharing this pattern. I was looking for something fun and funky yet affordable to make for my daughter's whole group of friends that we are taking to the snow for her birthday. This is PERFECT. I had a scrap of fleece that I pulled out to try it out as soon as I got done reading your tutorial. I was completely done 20 mins later and am wearing my creation as I type. so cool. Thank you Thank you.
Post a Comment